
NTFS file system is designed to work with Windows but In Mac macOS writing to NTFS volumes are impossible without additional software. There are some software which require you to pay for it, but this method is easy and free.
1- You’ll need Apple’s command line developer tools. If you haven’t installed them yet, you can open a Terminal and run the following command:
xcode-select --install
Click “Install” when you’re prompted to install the tools.

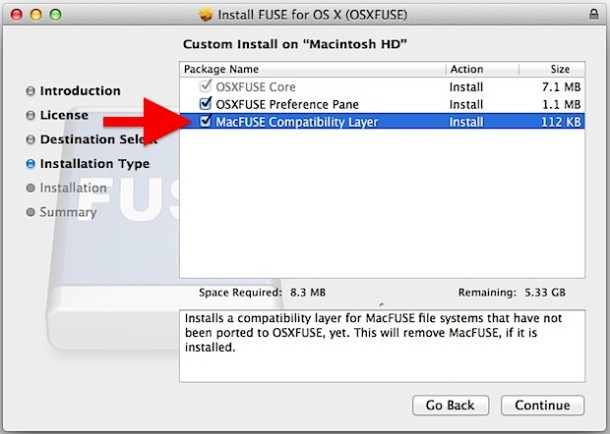
2- Download for mac OSXFuse last version and install.
https://github.com/osxfuse/osxfuse/releases
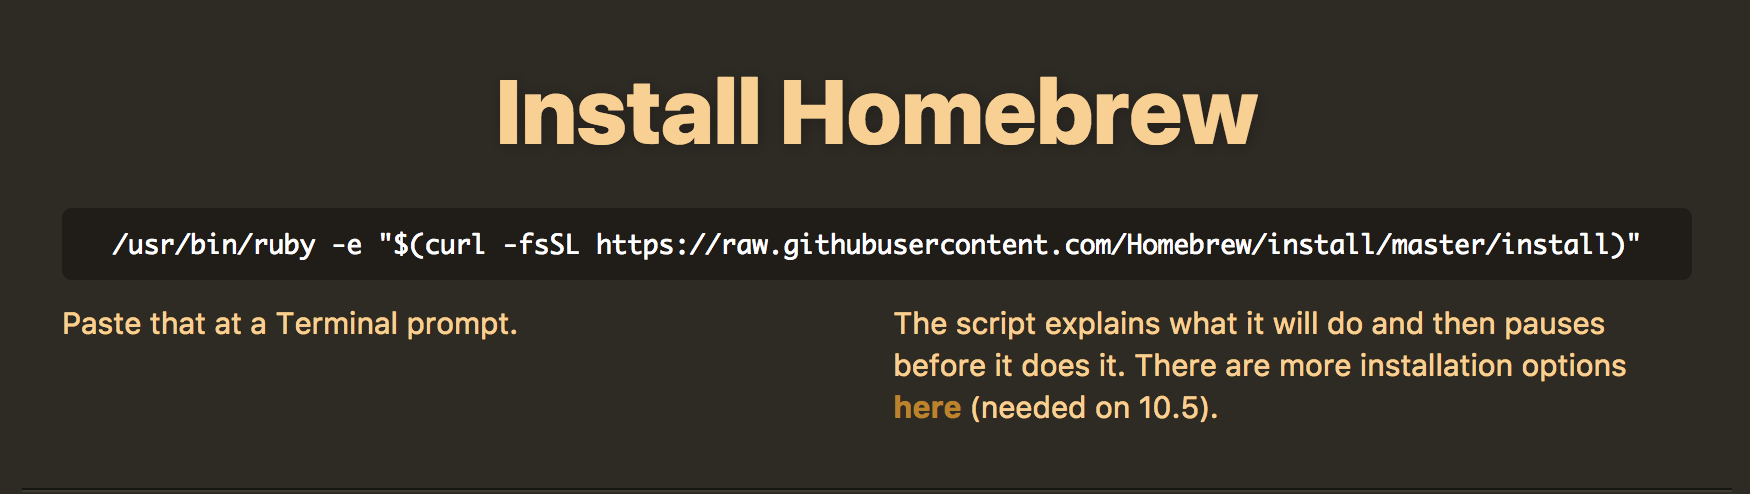
3- In addtion, you’ll need to download and install homebrew if you haven’t already installed it on your Mac.
Homebrew is a “package manager” for Mac OS X. Copy-paste the following command into a Terminal window and press Enter to install it:
/usr/bin/ruby -e "$(curl -fsSL https://raw.githubusercontent.com/Homebrew/install/master/install)"
Press Enter and provide your password when prompted. The script will automatically download and install Homebrew.
4- Install ntfs-3g
brew install ntfs-3g
5- Reboot your Mac and start Recovery Mode with “Command + R”.
Click the “Utilities” menu and select “Terminal” to open a terminal window.
To disable System Integrity Protection, run the following command:
csrutil disable

6- Reboot Mac and open terminal, type command for activate ntfs system.
sudo mv /sbin/mount_ntfs /sbin/mount_ntfs.original
sudo ln -s /usr/local/sbin/mount_ntfs /sbin/mount_ntfs
7- Reboot Mac like step 5, open terminal and enable System Integrity Protection.
csrutil enable
8- Reboot Mac and done. Now you can write ntfs disks a little bit slower performance.